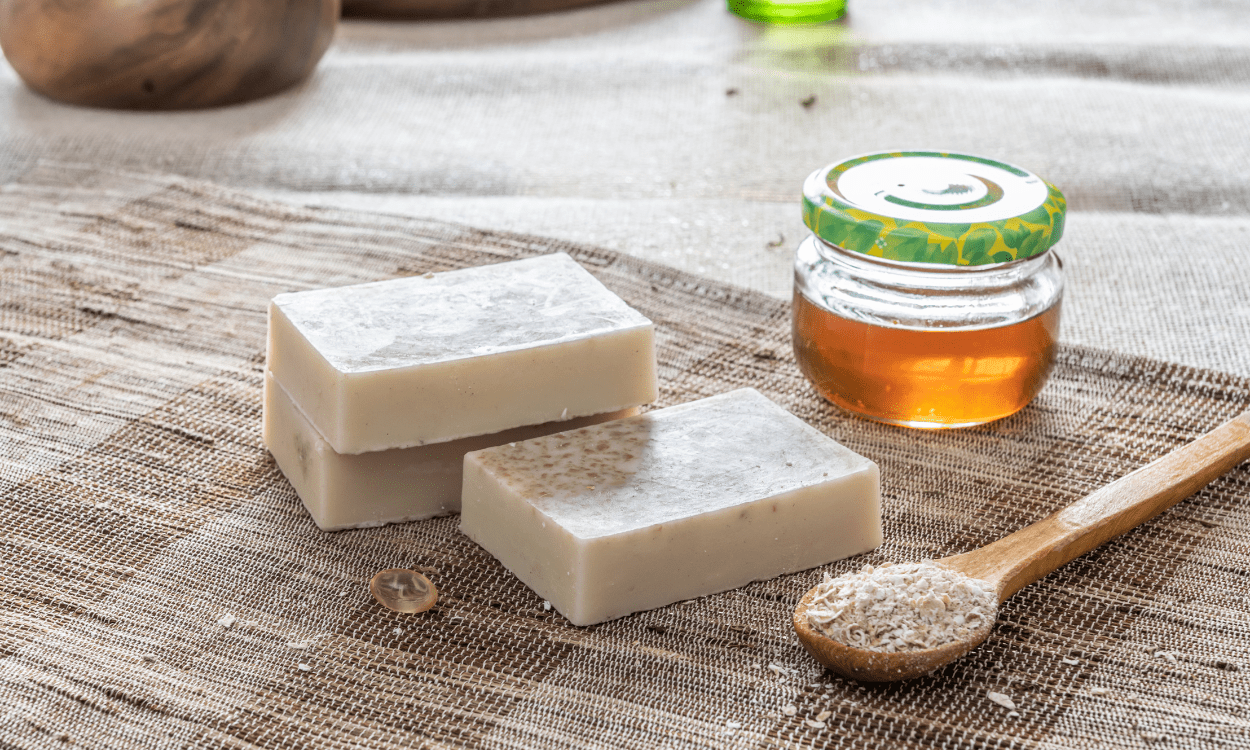

How to Make Your Own Honey Soap at Home
Crafting your honey soap at home is not only a rewarding experience but also a fantastic way to create a unique product tailored to your preferences. Honey soap is renowned for its moisturizing properties and natural sweetness, making it a popular choice for skincare. In this guide, we will walk you through the steps to make your honey soap, including tips for ingredients, tools, and techniques.
Why Use Honey in Soap?
Honey is a natural humectant, which means it attracts moisture to the skin. This property makes honey an excellent ingredient in soap, providing hydration and nourishment. Additionally, honey has antibacterial qualities, making it beneficial for various skin types, including sensitive or acne-prone skin. Incorporating honey into your soap not only enhances its scent and texture but also offers a luxurious touch.
Ingredients You’ll Need
Basic Ingredients
- Lye (Sodium Hydroxide): This is essential for the saponification process, where oils and fats turn into soap. Handle with care, as lye can be caustic.
- Distilled Water: Used to dissolve the lye.
- Oils: Choose a combination of oils for a balanced soap. Common options include:
- Olive oil (moisturizing)
- Coconut oil (cleansing and lathering)
- Palm oil (stability and hardness)
- Sweet almond oil (nourishing)
Honey
- Raw Honey: Use high-quality, raw honey for the best results. It should be added at the trace stage of soap-making to preserve its beneficial properties.
Optional Additives
- Essential Oils: For fragrance (lavender, tea tree, eucalyptus, etc.).
- Colorants: Natural colorants like turmeric, spirulina, or clay.
- Oatmeal or Exfoliants: For added texture and exfoliation.
Tools You’ll Need
- Safety Gear: Gloves, goggles, and a long-sleeved shirt to protect yourself from lye.
- Scale: For accurate measurement of ingredients.
- Thermometer: To monitor the temperature of oils and lye.
- Stick Blender: To mix the soap batter efficiently.
- Soap Molds: Silicone molds work well for easy removal.
- Mixing Bowls: Non-reactive bowls (glass or stainless steel).
- Spatula: For scraping and mixing.
Step-by-Step Guide to Making Honey Soap
Step 1: Prepare Your Workspace
Begin by setting up a clean, organized workspace. Ensure you have all your ingredients and tools ready. It’s essential to work in a well-ventilated area and to keep pets and children away during the soap-making process.
Step 2: Measure Your Ingredients
Using a scale, accurately measure your oils and the lye. The typical ratio for a basic soap recipe is a total of 16 ounces (about 450 grams) of oils and 4 ounces (about 113 grams) of lye. Adjustments can be made based on your specific recipe.
Step 3: Mix the Lye Solution
In a well-ventilated area, carefully mix the lye into distilled water. Always add lye to water, never the other way around, as it can cause a dangerous reaction. Stir gently until the lye is fully dissolved. The mixture will heat up significantly; allow it to cool to about 100-110°F (37-43°C).
Step 4: Heat Your Oils
In a separate pot, combine your measured oils and gently heat them until they melt and reach approximately the same temperature as your lye solution. This typically means getting the oils to around 100-110°F (37-43°C) as well.
Step 5: Combine Lye and Oils
Once both the lye solution and oils are at the correct temperature, slowly pour the lye solution into the oils. Use a stick blender to mix them together. Blend until you achieve “trace,” which is the point where the mixture thickens and leaves a trail on the surface when drizzled.
Step 6: Add Honey and Optional Ingredients
At trace, add your raw honey and any optional ingredients like essential oils or colorants. Blend gently to ensure even distribution. Be cautious not to overmix, as this can lead to a thicker batter.
Step 7: Pour into Molds
Carefully pour the soap batter into your prepared molds. Tap the molds gently to release any air bubbles trapped in the mixture. If desired, you can sprinkle some oatmeal or other exfoliating agents on top for added texture.
Step 8: Insulate and Cure
Cover the molds with a towel or plastic wrap to insulate them. This helps the soap reach gel phase, which enhances the final product’s quality. Allow the soap to sit undisturbed for 24 to 48 hours. After this time, check if it has hardened enough to remove from the molds.
Step 9: Cut and Cure
Once the soap is firm, remove it from the molds and cut it into bars. Place the bars on a drying rack in a cool, dry area to cure for 4 to 6 weeks. This curing time allows the soap to harden and ensures that the lye has fully saponified.
Step 10: Enjoy Your Soap
After the curing period, your honey soap is ready to use! Wrap it in paper or store it in a cool place to prevent moisture absorption. Enjoy the benefits of your homemade soap or share it as a thoughtful gift.
Tips for Success
- Start Small: If you’re new to soap-making, consider starting with a small batch to practice your skills.
- Keep Notes: Document your process, including measurements and any adjustments made, for future reference and improvement.
- Be Patient: Allowing the soap to cure properly is crucial for achieving the best quality.
Conclusion
Making your honey soap at home is a delightful and fulfilling project that allows you to create a natural product tailored to your preferences. make sure honey is original, you can buy from the best honey supplier. with its moisturizing properties and gentle aroma, honey soap can enhance your skincare routine or serve as a thoughtful gift. By following these steps and experimenting with different ingredients, you can enjoy the satisfaction of crafting a beautiful and beneficial product from scratch. So gather your supplies, unleash your creativity, and dive into the wonderful world of homemade honey soap!